Creating classes and schedules
For: Owners & Managers
Before anything shows up on your calendar, you create a class (its name, length, and capacity) and give it a recurring schedule that generates sessions automatically. You do both on the Classes page.
Prerequisites & permissions
- You need at least one active location (add one under Settings) before you can create a class.
- Classes is available to owners, managers, and front-desk staff. Instructors don't see this page.
Creating a class
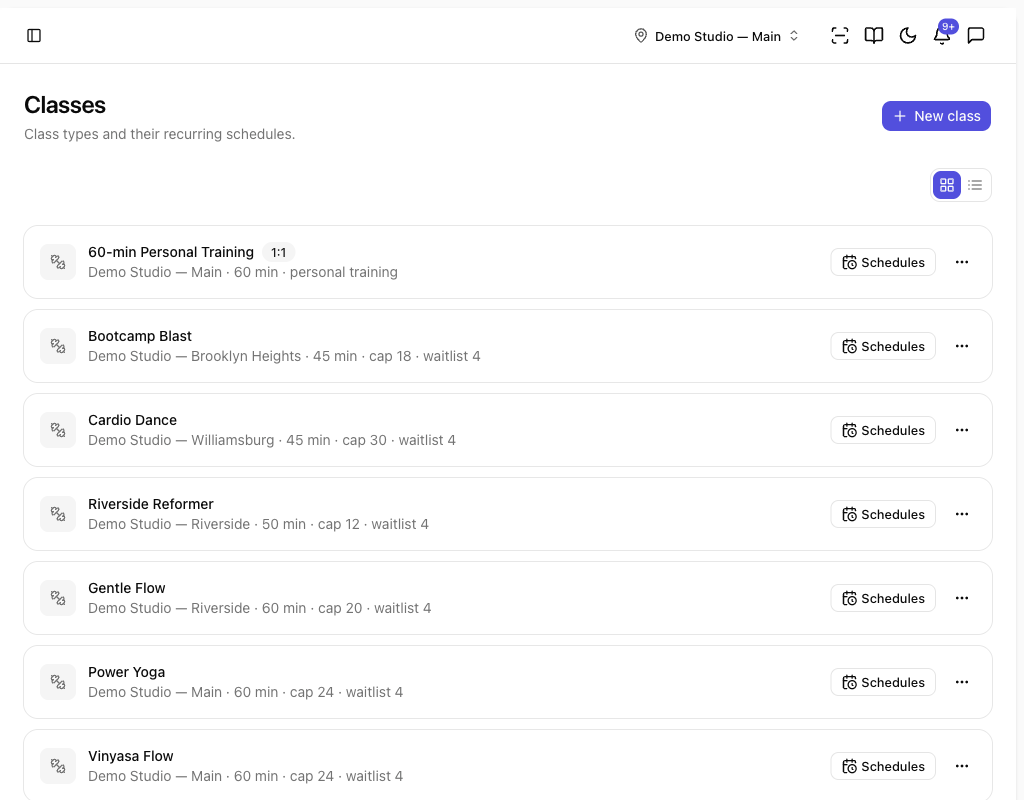
Use the toggle at the top right to switch between a card view and a compact list view — the list view lays out every class's location, duration, capacity, and waitlist in one scannable table.
Go to Scheduling → Classes and click New class.
Fill in the class:
Field What it's for Name The class type, e.g. Vinyasa Yoga. Location Which site this class belongs to. It can't change after creation. Duration (min) How long a session runs by default. Capacity How many members can book a session. Waitlist How many members can wait for a spot. Leave at 0 for no waitlist. Booking policy Optional. Booking opens (hrs before) and Cancel cutoff (hrs before) — leave blank to use your organization's defaults (set in Settings → Organization). Click Create class. You'll see Class created.
To change a class later, use its ⋯ menu → Edit. Changing the duration only affects newly generated sessions.
Adding a recurring schedule
A class doesn't put anything on the calendar until it has a schedule.
- On the class card, click Schedules.
- Under the new-schedule form, set:
- Repeat on — tap the weekday buttons (M T W T F S S) the class runs.
- Start time, and an Instructor (or leave Unassigned).
- Start date, and an optional End date (leave blank for open-ended).
- Capacity and Waitlist cap — leave blank to use the class defaults.
- Horizon (days) — how far ahead to generate sessions (default 60).
- Click Add schedule. You'll see Schedule added — sessions generated. and the sessions appear on the calendar.
To stop a pattern, click End on the schedule. You'll see Schedule ended — future sessions cancelled — past sessions and their history stay.
Retiring a class
When you no longer offer a class, open its ⋯ menu → Retire. New sessions stop generating and it's hidden from new schedules, but existing sessions and history are kept. Retired classes show a Retired badge.
Tips
- Set the class capacity and waitlist once and every session inherits them — you only override a single session when you need to (see Running a class session).
- Need a single extra class, not a repeating one? Add it straight from the calendar with New session — see Using the schedule calendar.
Troubleshooting
| Issue | What to do |
|---|---|
| New class is greyed out | You have no active locations. Add one under Settings first. |
| The location field is missing when editing | Location is fixed after creation — retire the class and create a new one at the right location. |
| Sessions didn't appear after adding a schedule | Check the Start date isn't in the future beyond your view, and that at least one weekday is selected under Repeat on. |